


Acon is proudly Finnish!
We're headquartered in Oulu, Finland—but we ship to Canadian customers from our U.S. warehouse for faster delivery.
Distributed by our North American Distribution Partner Distribuacon Inc.
Ships from:
6035 Queens Ave NE Ste. 200
Otsego, MN 55330, USA
Transform Your Trampoline: A Complete Guide to Adding Lights
9 Mins Read

Last updated on December 30, 2025
Want to take your trampoline to the next level? Learn how to safely and creatively add outdoor lights from fairy lights to LED strips for a magical glow that extends playtime into the night. This step-by-step guide covers materials, installation tips and decoration ideas for every season.
There’s something magical about a trampoline that glows under the evening sky. By adding lights to your trampoline, you have the chance to transform it into a cozy, glowing centerpiece for family gatherings, nighttime fun, or even a festive backyard party. Whether you want to add visibility to the trampoline play to use after sunset or simply add a touch of creativity to your outdoor space, our guide walks you through every step!
The right lighting not only highlights the trampoline’s shape but also increases visibility, which helps prevent accidents during nighttime play. If you haven't considered your trampoline's decor, fear not: it's time to get your creativity burning, with lights that bring your yard back to life.
In this step-by-step guide you’ll learn what materials to use, how to install the lights properly, and how to ensure everything stays secure and weatherproof. By the end, you’ll have your own glowing trampoline ready for family fun.
Materials Needed to Add Lights to Your Trampoline
1. LED lights – Choose between LED strip lights, rope lights, or fairy lights. LED lights are energy-efficient, bright, and available in multiple colors. Make sure to select lights specifically designed for outdoor use to ensure safety and durability.
2. Zip ties or hooks – These will help attach the lights securely to the trampoline frame or enclosure poles. Zip ties are especially useful because they’re easy to adjust and remove later.
3. Power source – Depending on your light type, you’ll need either a battery pack, an extension cord, or a solar panel. Battery-operated lights are often the easiest to manage since they don’t require cords running across the yard. Always choose the safest option for your setup, ensuring cords or devices don’t create a tripping hazard or other safety issues.
4. Outdoor-rated extension cord – If you’re using plug-in lights, make sure the cord is rated for outdoor use and long enough to reach your trampoline’s location.
5. Waterproof tape or clips – Use these to secure connections and protect them from moisture.
6. Ladder or step stool – A small ladder makes it easier to reach the top of the trampoline net or frame during installation.
7. Safety gear – Gloves and safety glasses are helpful when handling wires, zip ties, or sharp edges.
Having all your materials ready before you begin will make the process faster and safer.
Step 1: Choosing the Right Lights for Your Trampoline
The first step in creating a trampoline with lights is choosing the right type of lighting. There are several great options, each with its own advantages, but to be safe, make sure to select lights that are weatherproof and specifically designed for outdoor use.
LED Strip Lights: These are flexible strips that can easily wrap around the trampoline frame. They provide even illumination and often come with remote controls that allow you to change colors or brightness levels. Look for waterproof LED strips rated for outdoor use.
Fairy Lights: These delicate lights add a whimsical touch. They’re perfect for creating a soft glow around the trampoline net or posts. Battery-operated fairy lights are convenient and safe since they don’t require extension cords.
Solar-Powered Lights: If you want an eco-friendly option, solar lights are a great choice. They charge during the day and automatically turn on at night. Just make sure the solar panel is placed in a sunny area.
When selecting lights for a trampoline, consider the following:
Weather resistance: Outdoor conditions can change quickly, so choose lights that are waterproof or weatherproof.
Brightness: Decide how bright you want the area to be. Some people prefer a soft glow, while others like vibrant, colorful lighting.
Power source: If you don’t have an outdoor outlet nearby, battery-operated or solar-powered lights are your best bet. If you do use an extension cord, make sure it’s rated for outdoor use and keep it away from water or high-traffic areas to prevent tripping hazards.

Step 2: Setting Up the Lights on the Trampoline
Once you’ve chosen your lights, it’s time to start setting them up. This part of the process is where your creativity can shine!
1. Measure the trampoline’s circumference or area: Use a measuring tape to determine how many feet of lighting you’ll need. It’s always better to have a little extra length than to run short. Think about where you want to place the lights, such as circling the top of the safety net or wrapping around the frame, and measure accordingly so you have enough length for your chosen design.
2. Plan your placement: Decide whether you want the lights around the outer frame, along the safety net, or on the ground underneath the trampoline. Each placement creates a different effect. For example, lights under the trampoline create a glowing halo, while lights around the net make the entire structure shimmer.
3. Attach the lights securely: Use zip ties or small plastic adhesive or S-hooks to fasten the lights to the frame or the enclosure poles. Make sure there are no sharp edges that could damage the trampoline, and that the attachments are snug enough to stay in place but not so tight that they damage the wire. Space the ties evenly for a neat appearance.
4. Avoid tangling: As you wrap the lights, keep the wires untangled and straight. This not only looks better but also makes maintenance easier later on.
5. Keep the jumping area clear: The lights should never interfere with the trampoline’s bounce area. Always attach them outside the mat, along the frame, keeping them away from the mat, springs, and spring-to-frame connection points.
This step is where your trampoline decoration ideas really come to life. You can create patterns, color gradients, or even a starry-night effect, depending on the type of lights you choose.
Step 3: Wiring and Power Supply Considerations
Now that your lights are in place, it’s time to focus on the power source. This is one of the most important steps for both functionality and safety.
If you’re using battery-operated lights, attach the battery pack to a secure part of the trampoline frame, away from the jumping surface. You can use a small waterproof pouch or plastic container to protect the battery pack from rain or dew.
For plug-in lights, run an outdoor-rated extension cord from your power outlet to the trampoline. Make sure the cord is placed safely along the ground, away from walkways where someone could trip. Use waterproof connectors or tape to protect the plug connection from moisture. Always unplug the lights when not in use, and periodically check their condition to ensure they remain safe and in good working order.
If you’ve chosen solar lights, position the solar panel in a spot that receives direct sunlight during the day. Most panels come with a stake or clip that makes placement easy.
No matter which power source you use, always test the setup before securing everything permanently. This helps ensure all connections are working properly and that the lights illuminate evenly around the trampoline.
Step 4: Testing and Adjusting the Lights for Maximum Effect
Once your lights are installed and powered, it’s time to test them. Turn them on and step back to see how they look from different angles.
If you notice dark spots or uneven brightness, adjust the placement of the lights until the entire trampoline glows evenly. You can also adjust the brightness or color settings if your lights come with a remote control or app. Many LED light kits allow you to switch between colors, set timers, or even sync the lights to music for a lively atmosphere.
Take a few minutes to fine-tune the positioning. Sometimes, simply shifting a light strip a few inches can make a big difference in balance and symmetry. If you’ve used zip ties, you can easily loosen and reposition them until you’re happy with the look.
Once everything looks perfect, double-check that all cords, battery packs, and connections are secure and protected from moisture. If you’re using plug-in lights, make sure the extension cord is routed safely and that no one can trip over it in the dark.
Finally, turn off the lights and wait until evening to see them in full effect. The glow of your trampoline with lights will instantly transform your backyard into a cozy, inviting space. Whether you’re hosting a small gathering, letting the kids play, or just enjoying a quiet night outside, you’ll love the atmosphere you’ve created.

F.A.Q: Trampoline Lights and Decoration
Is it safe to attach lights to the frame?
Yes, it’s safe as long as you use the right materials and follow basic precautions. Always choose lights that are rated for outdoor use and attach them securely with zip ties or clips. Keep all wiring and connections away from the jumping surface. Avoid wrapping lights too tightly around the frame, as this can damage both the wire and the trampoline coating.
Is it safe to attach lights to the net?
Attaching lights around the safety net is a popular and visually appealing option. Just make sure to use lightweight LED or fairy lights so the net doesn’t sag. Secure the lights to the enclosure poles at multiple points to distribute the weight evenly. Avoid placing lights where jumpers might come into direct contact with them. Keep in mind that depending on your placement and method, attaching something directly to the net may damage it. We always recommend attaching lights to the frame and enclosure poles instead.
How long do trampoline lights last?
The lifespan of your lights depends on their type and quality. LED lights typically last tens of thousands of hours, especially when used intermittently. Solar-powered and battery-operated lights may need occasional maintenance, such as replacing batteries or repositioning panels for better sunlight exposure.
Can I leave my trampoline lights on overnight?
It’s generally best to turn the lights off when not in use. This saves power and extends their lifespan. Many modern light kits come with timers or remote controls that make it easy to schedule automatic shut-offs. If you’re using solar lights, they’ll usually turn off automatically once the battery runs out.
Creative Trampoline Decoration Ideas
Adding lights is just the beginning. Once you’ve mastered the basics, you can explore more trampoline decoration ideas to personalize your setup.
1. The Fairy Garden Look: Combine fairy lights with small hanging decorations attached to the frame or enclosure poles, or placed in the garden around the trampoline, such as paper lanterns or artificial flowers. This creates a dreamy, whimsical vibe that’s perfect for evening relaxation.
2. Party-Ready Glow: Use color-changing LED strips that can flash or fade to music. Add a few glow-in-the-dark accessories or balloons around the trampoline for a fun party atmosphere.
3. Echanted Frame Wrap: Wrap cool white or blue lights around the trampoline frame to create a magical, starry effect. Pair this with a few solar lanterns around the yard for a complete nighttime experience.
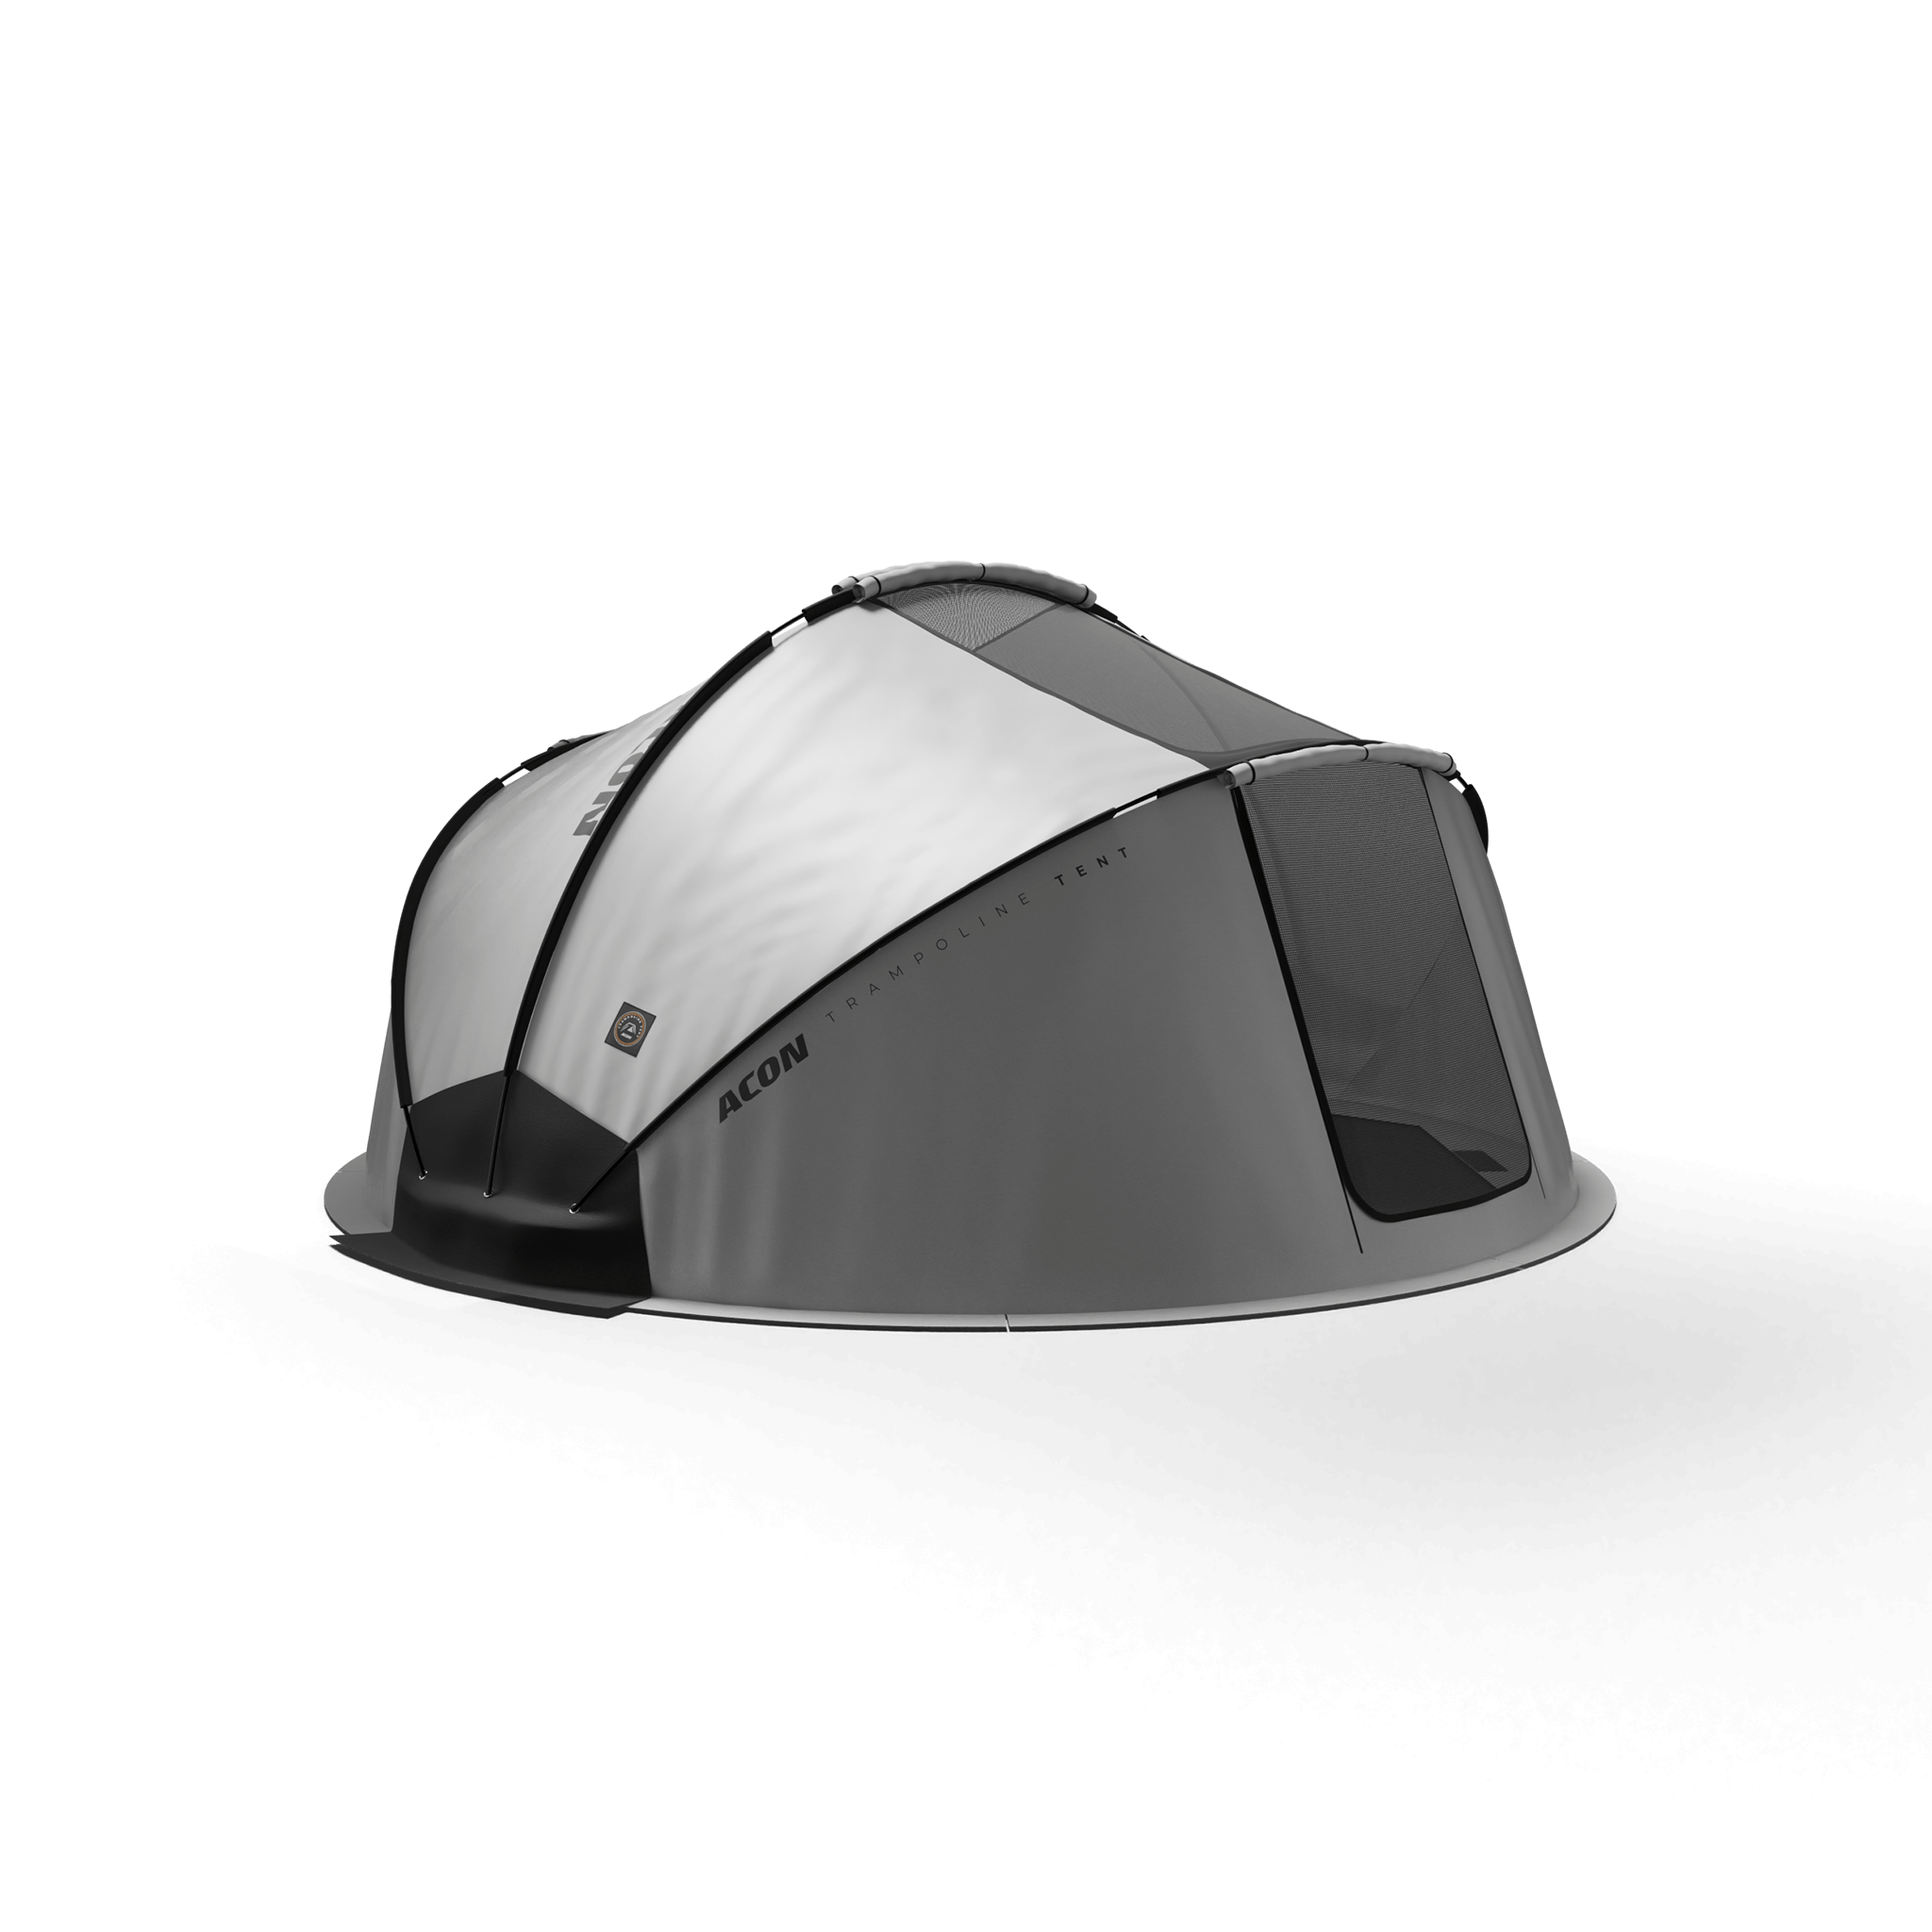
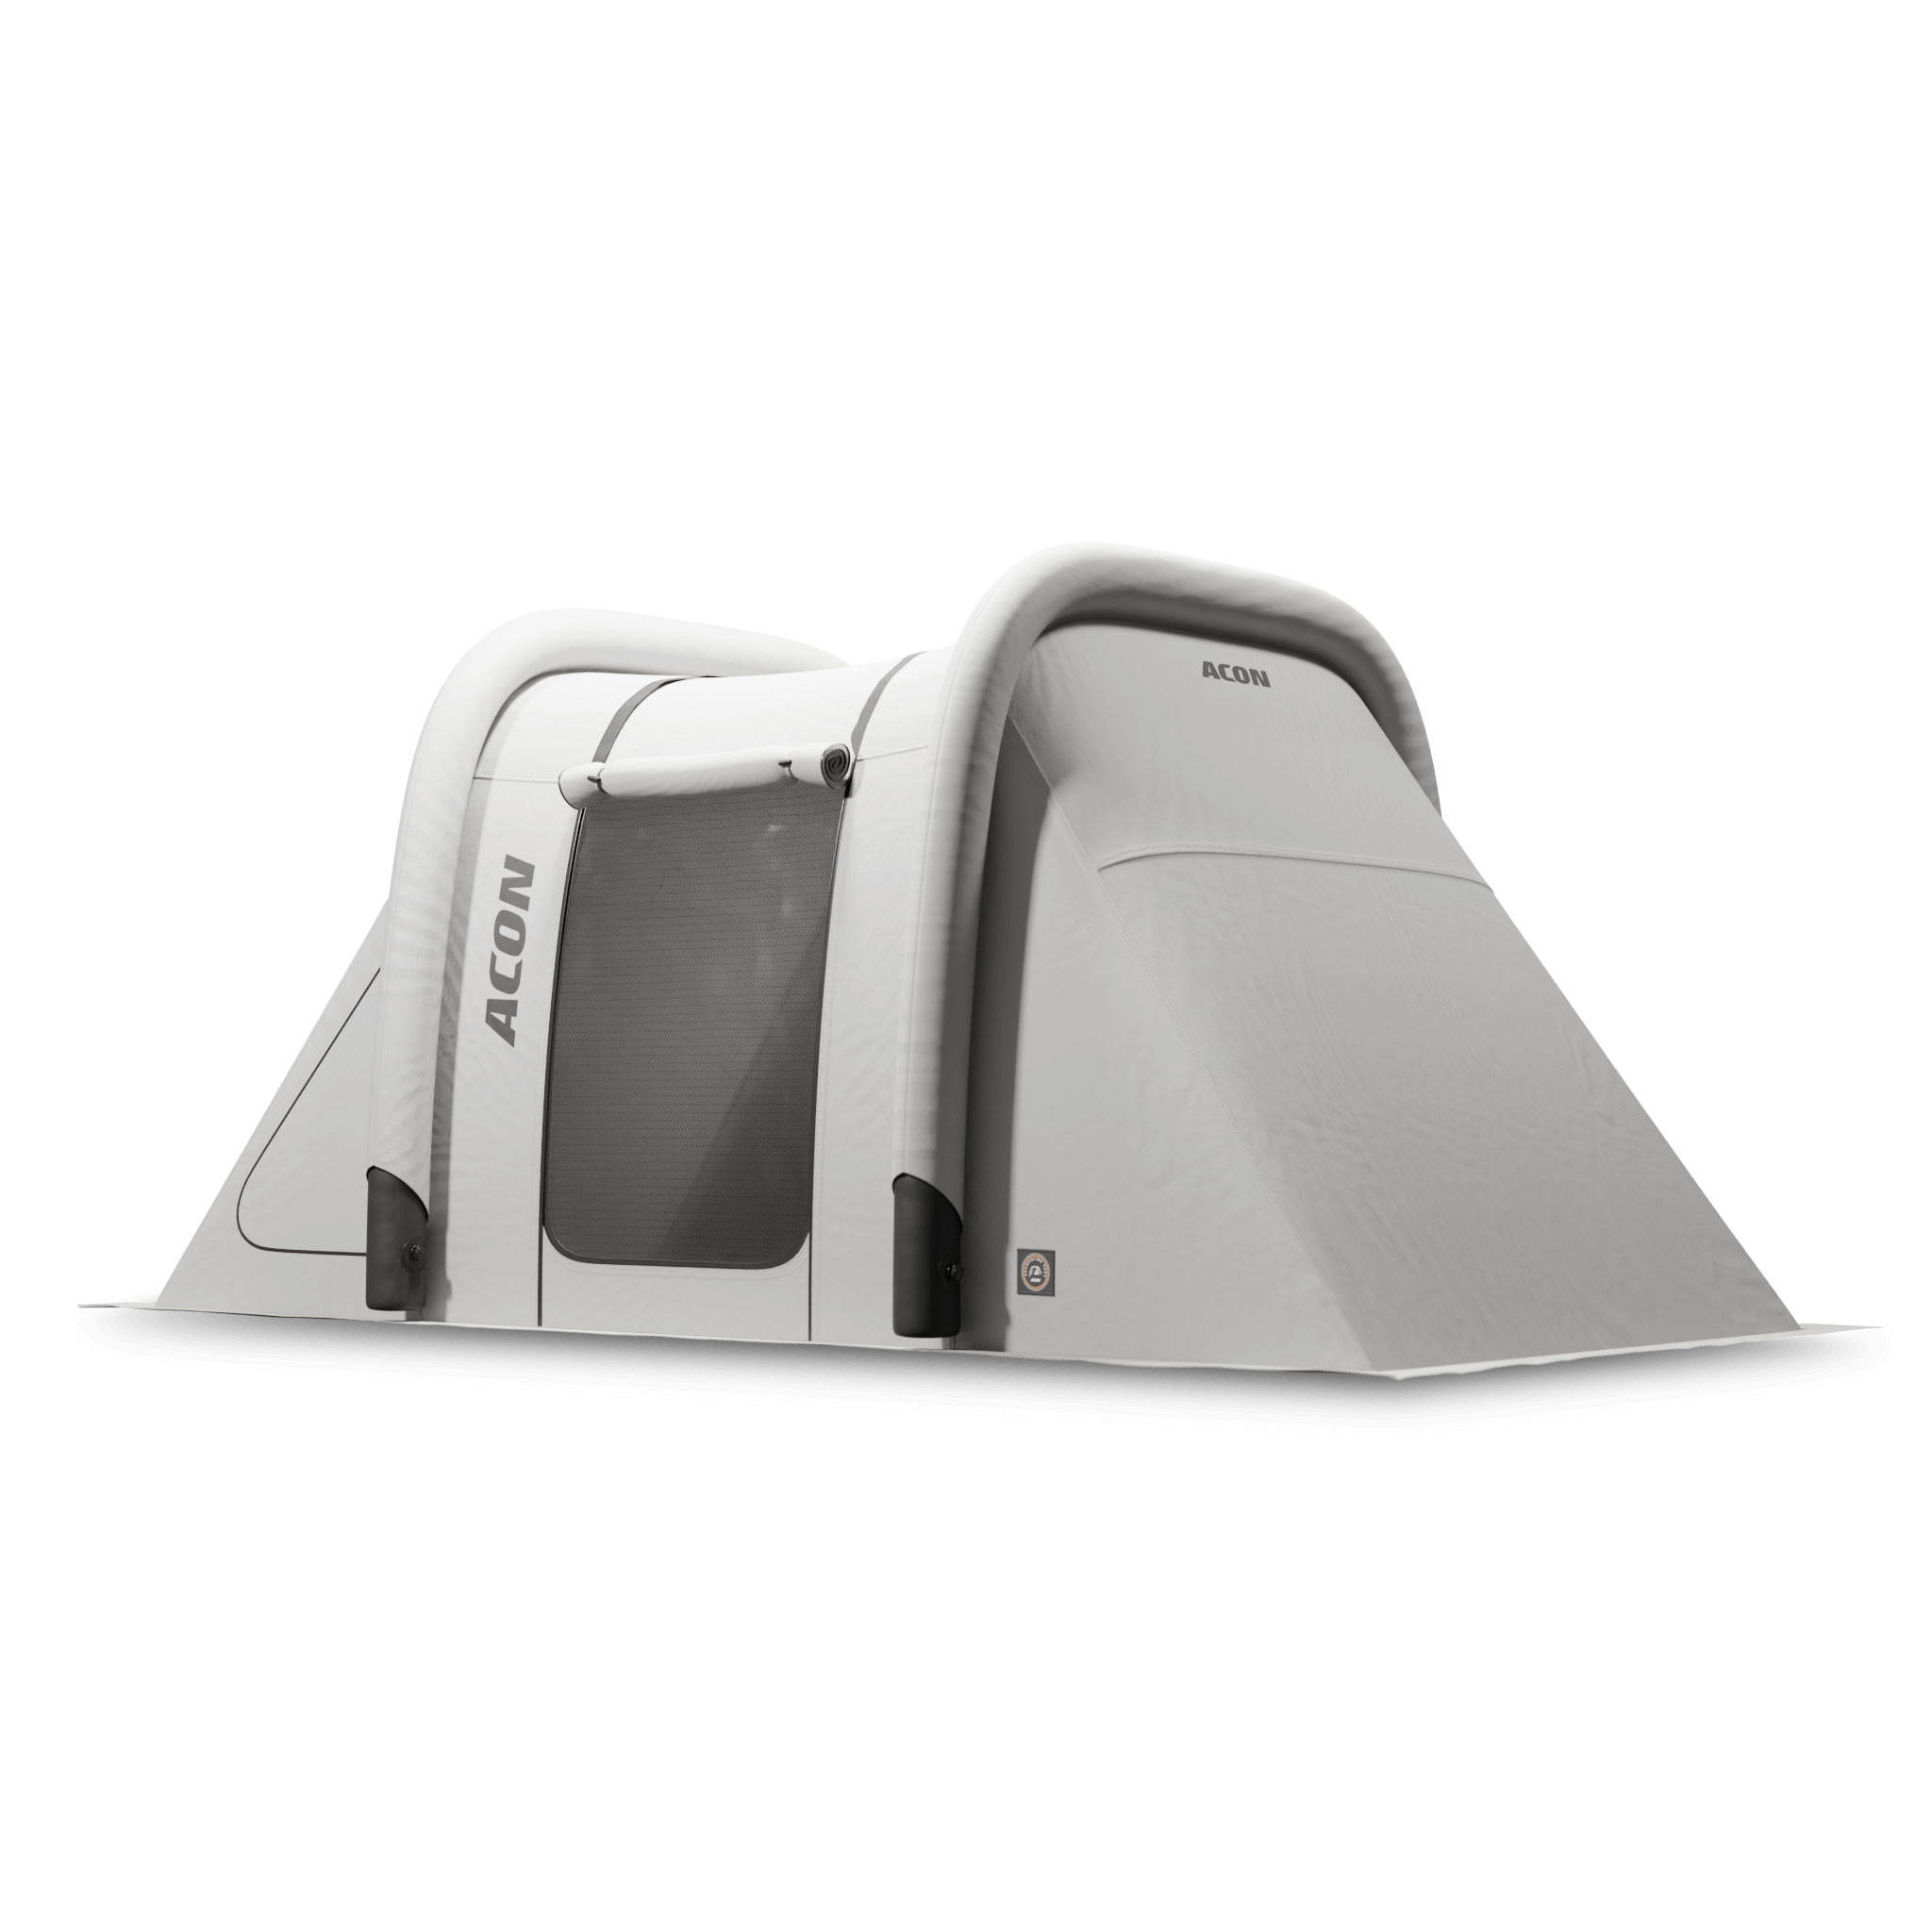
4. Camping Under the Stars: With lights set up around the trampoline’s safety net, add an Acon Trampoline Tent to level up the experience. The tent provides a cozy, enclosed space for evening play or lounging, while the lights create a starry-night effect even on cloudy evenings. Large mesh doors and windows open up the view, letting you enjoy the glow from inside the tent.
5. Seasonal Decor: Change your trampoline decoration throughout the year. Use warm white lights during winter, multicolor ones for holidays, and soft pastels for spring. This keeps your trampoline looking fresh and festive all year long.
Your trampoline can easily become the centerpiece of your backyard. With thoughtful light decoration and a little creativity, you can make it a space that feels both magical and safe.

Safety Tips for Trampoline Lights
Safety should always come first when working with electricity outdoors. Here are a few key reminders to keep your trampoline lighting both beautiful and safe:
Use only outdoor-rated lights and cords. Indoor lights can short out or become damaged by moisture.
Avoid overloading circuits. If you’re using plug-in lights, make sure they don’t exceed your outlet’s capacity.
Keep all electrical connections off the ground. Elevate plugs and battery packs to prevent water exposure.
Inspect regularly. Check your lights every few weeks for frayed wires, loose ties, or damaged bulbs.
Supervise children. Remind kids not to pull on the lights or play with the cords.
By following these simple precautions, you’ll keep your trampoline safe to use while enjoying the beautiful glow every evening.
Maintenance Tips for Long-Lasting Lights
Once your trampoline lights are installed, a little maintenance goes a long way in keeping them shining brightly.
Clean the lights occasionally. Dust, pollen, and dirt can build up on the bulbs or strips. Wipe them gently with a soft cloth.
Check batteries or solar panels. Replace batteries as needed, and make sure solar panels are free from debris.
Store lights during harsh weather. If you live in an area with heavy snow or storms, consider removing the lights during the off-season to prolong their life.
Tighten zip ties when needed. Over time, ties can loosen due to temperature changes or wind. Give everything a quick check every few months.
These small steps will help your trampoline lights remain bright and reliable for years of fun.
Bringing It All Together
Adding lights to a trampoline can turn an ordinary backyard into a welcoming, playful space. Whether you’re going for a soft, romantic glow or a vibrant, party-ready setup, lights will add to the atmosphere!
From choosing the right type of light to securing them safely and testing for the perfect effect, every step contributes to a trampoline that’s both functional and beautiful. The added visibility makes nighttime play safer, while the decorative touch enhances your outdoor ambiance.


